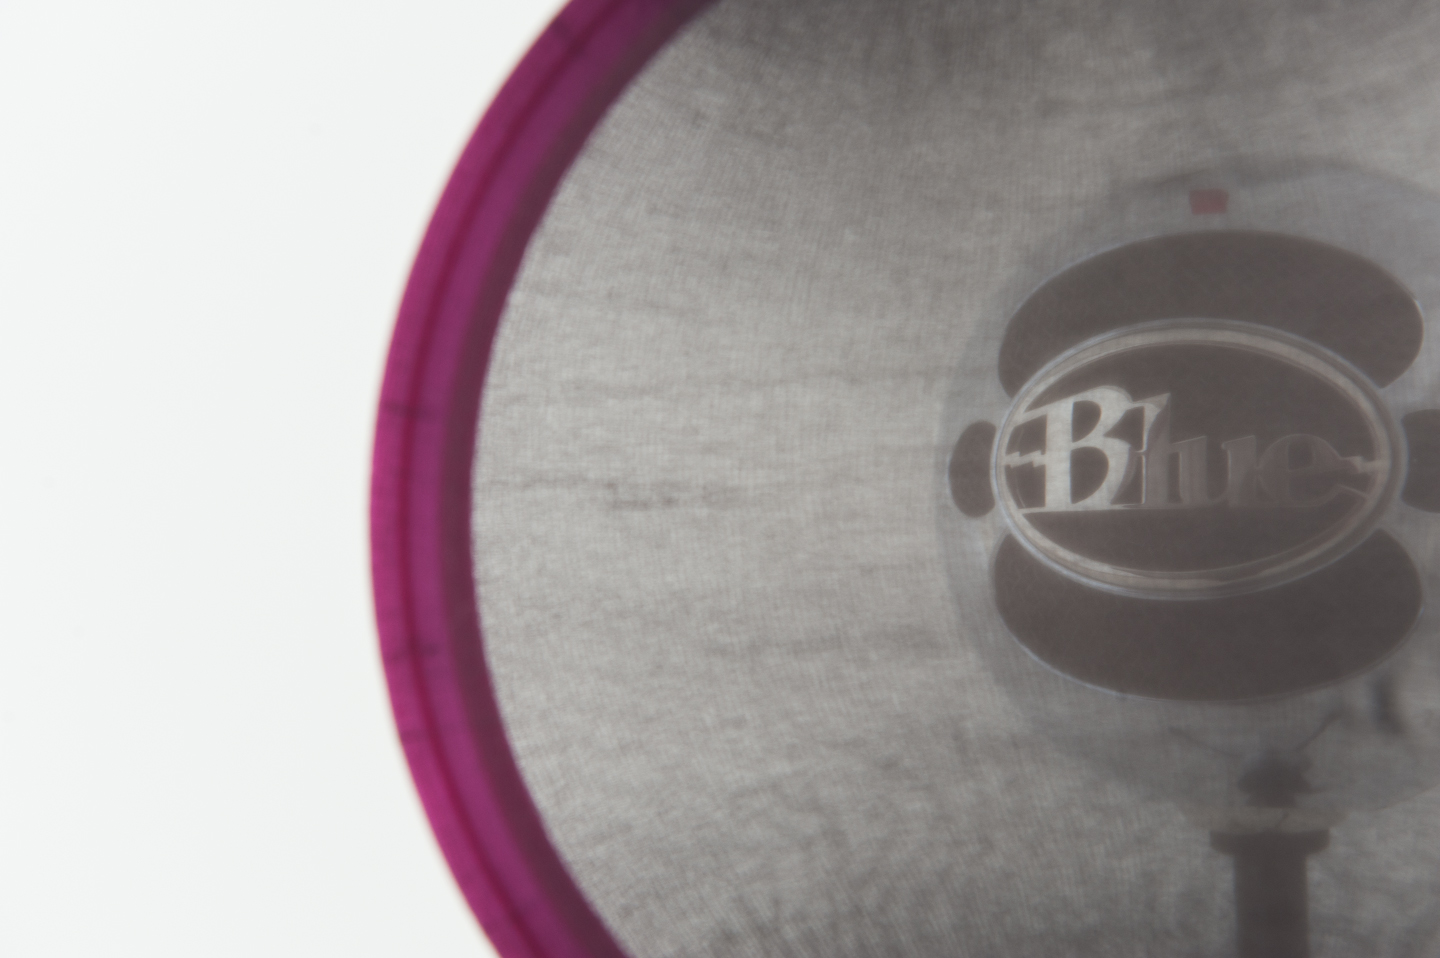
Pop filters remove pops, thuds, thumps, hissing and thwacks that can accompany your speech while recording. You place the pop filter between you and the microphone, to filter out puffs of air that naturally accompany your voice as you speak.
Try This — Hold your hand in front of your mouth and say “Peter Piper picked a peck of pickled peppers!” As you recite the tongue twister, you’ll be able to feel the puffs of air from the consonant P. Other consonants that can produce a pop or a hiss are B, T, D, and S.
The mechanics of a pop filter are straightforward, and it’s fairly easy to make your own.
To make a pop filter
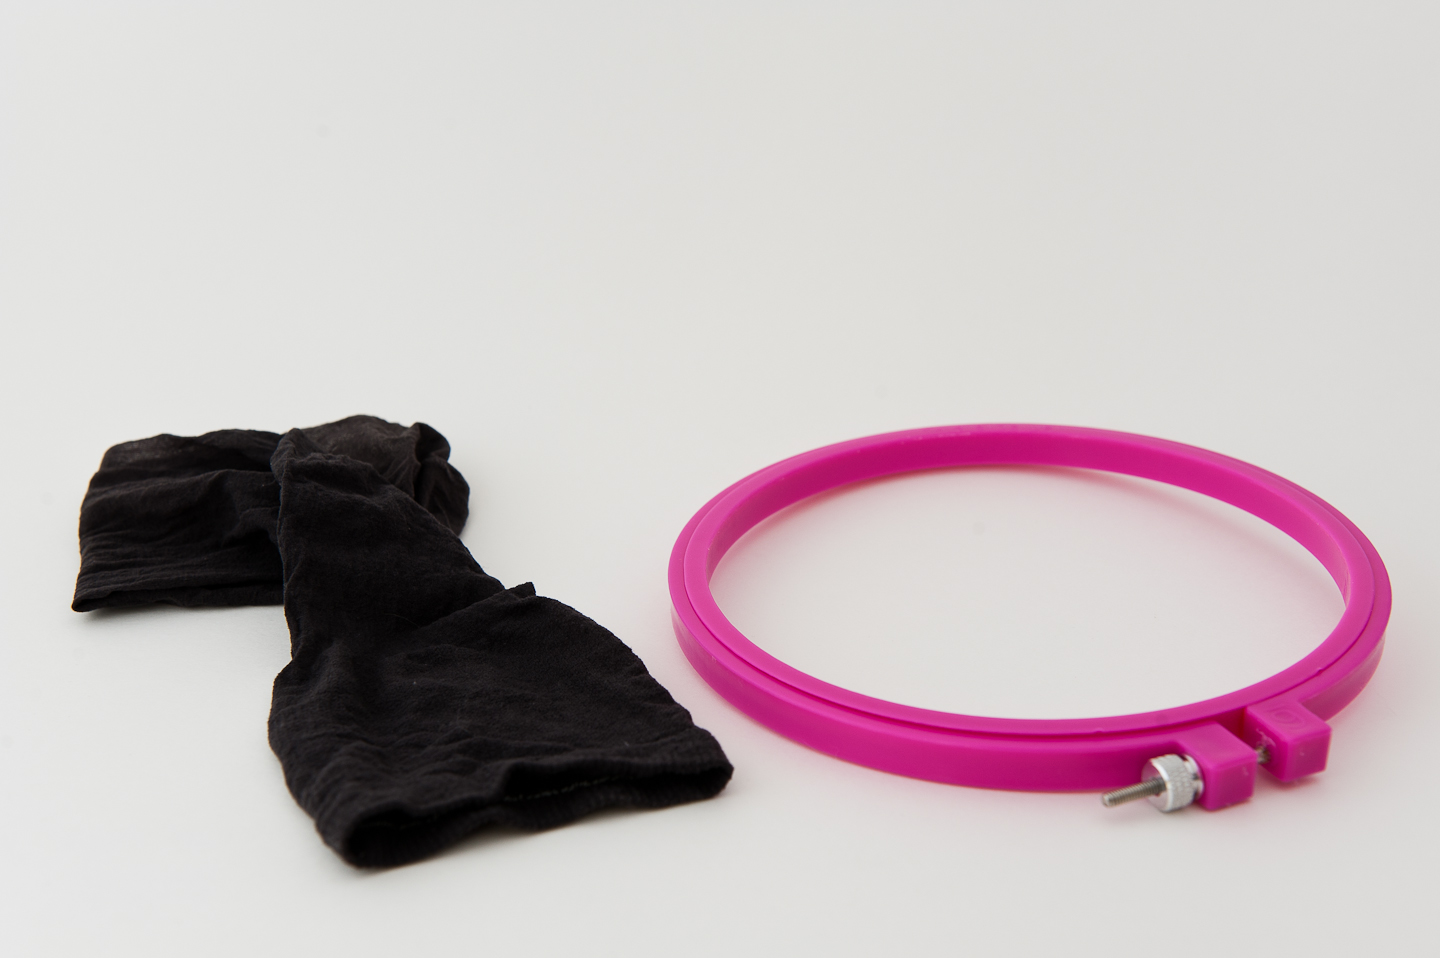
You’ll need a small amount of gauzy fabric and something to hold the fabric in front of your microphone. A simple and easy method is to stretch a knee-high nylon stocking over an embroidery hoop.
Materials
- one six-inch embroidery hoop
- one nylon stocking
Assemble the filter
- Stretch the stocking over the inside ring of the embroidery hoop.
- Fasten the outside ring, making sure the fabric is stretched tight.
- Trim any excess fabric.
Attach the filter to your microphone
For this example, a wooden chop stick is attached to the embroidery hoop. Any method you use to attach the filter will depend on your microphone. Here are a few suggestions for inexpensive materials you can easily find to attach the pop filter to your own microphone:
- a coat hanger
- 12-guage electrical wire
- pipe cleaners
- clamps
- twist ties
With the pop filter in place, you can focus on your best storytelling techniques and stop worrying about fuzzy pops, hisses, and other uninvited sound effects.

